 Get AI Photo Editor
BeforeAfter
Example 01
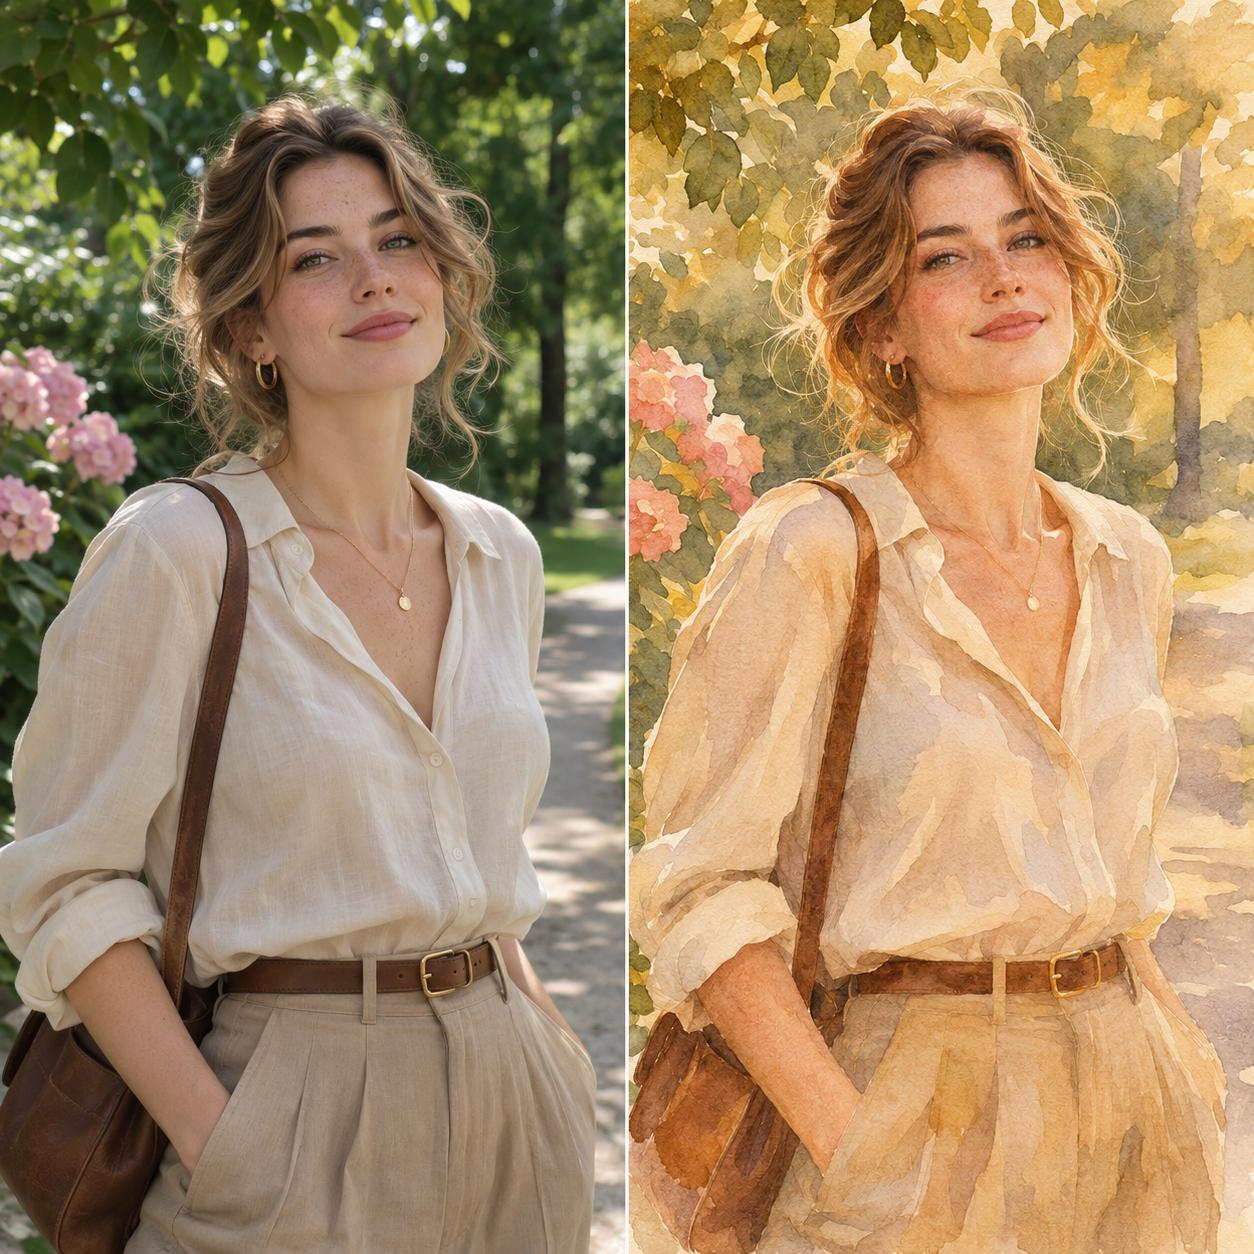
Portrait to illustration
An outdoor portrait redrawn as a soft watercolor illustration. Her pose, outfit silhouette and framing stay recognizable as the colors and texture change.
Upload a photo, describe the new look, and keep the composition.
Support JPEG, JPG, PNG or WEBP formats up to 10 MB
Image Resolution
Aspect Ratio
10 free trial credits · GPT Image 2.6 · Medium
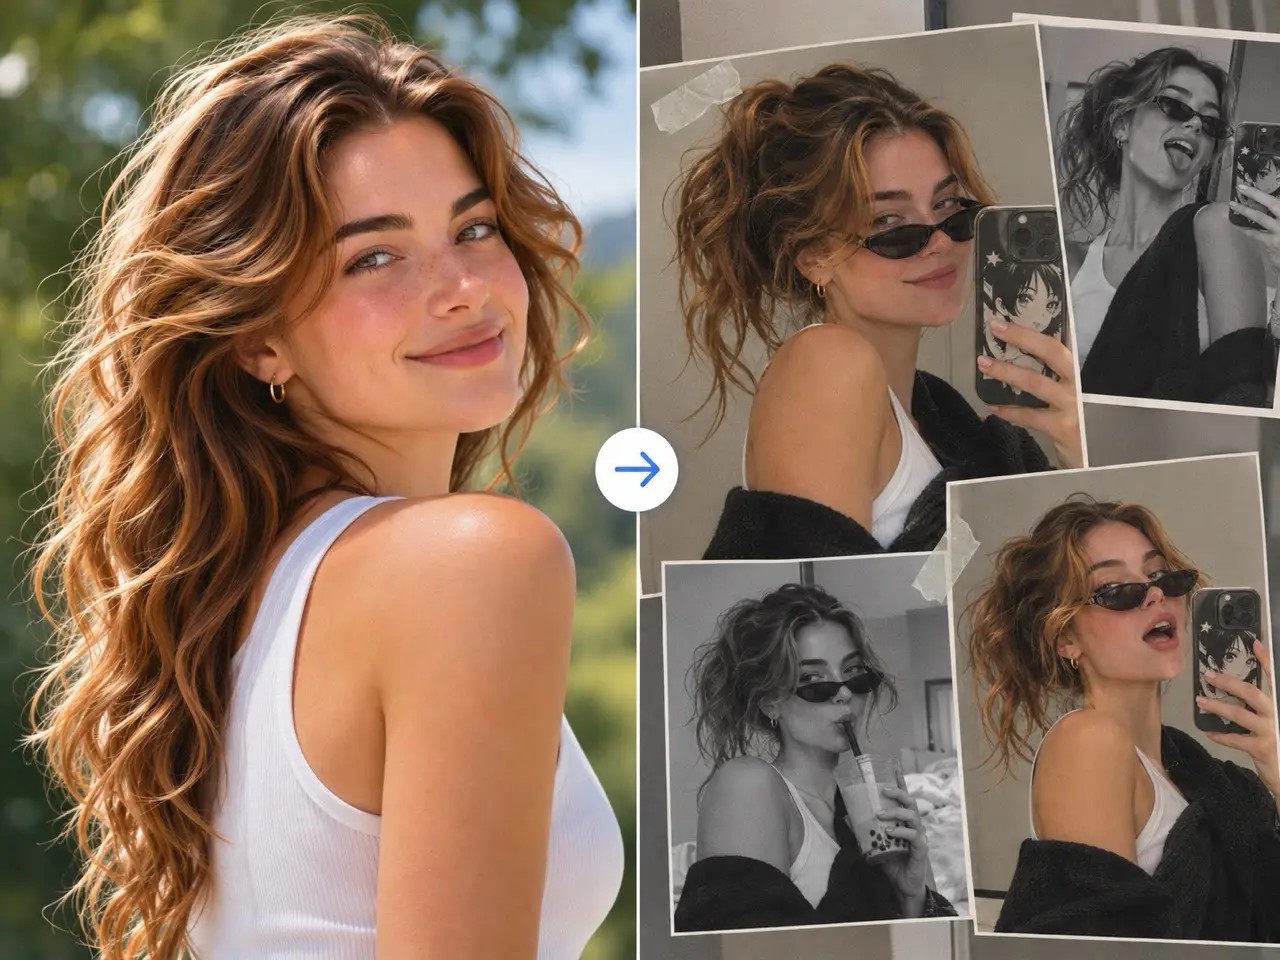
Upload a photo to replace this example.
Overview
Image to image editing starts from a photo you already have, not from a blank prompt. Upload the picture, describe what should change — the style, the setting, the light — and the AI redraws it while your subject, framing and composition stay where they are. Start with 10 free credits, no sign-up.
Same picture, new look — the composition is inherited from your file, not invented.
Example 01
An outdoor portrait redrawn as a soft watercolor illustration. Her pose, outfit silhouette and framing stay recognizable as the colors and texture change.
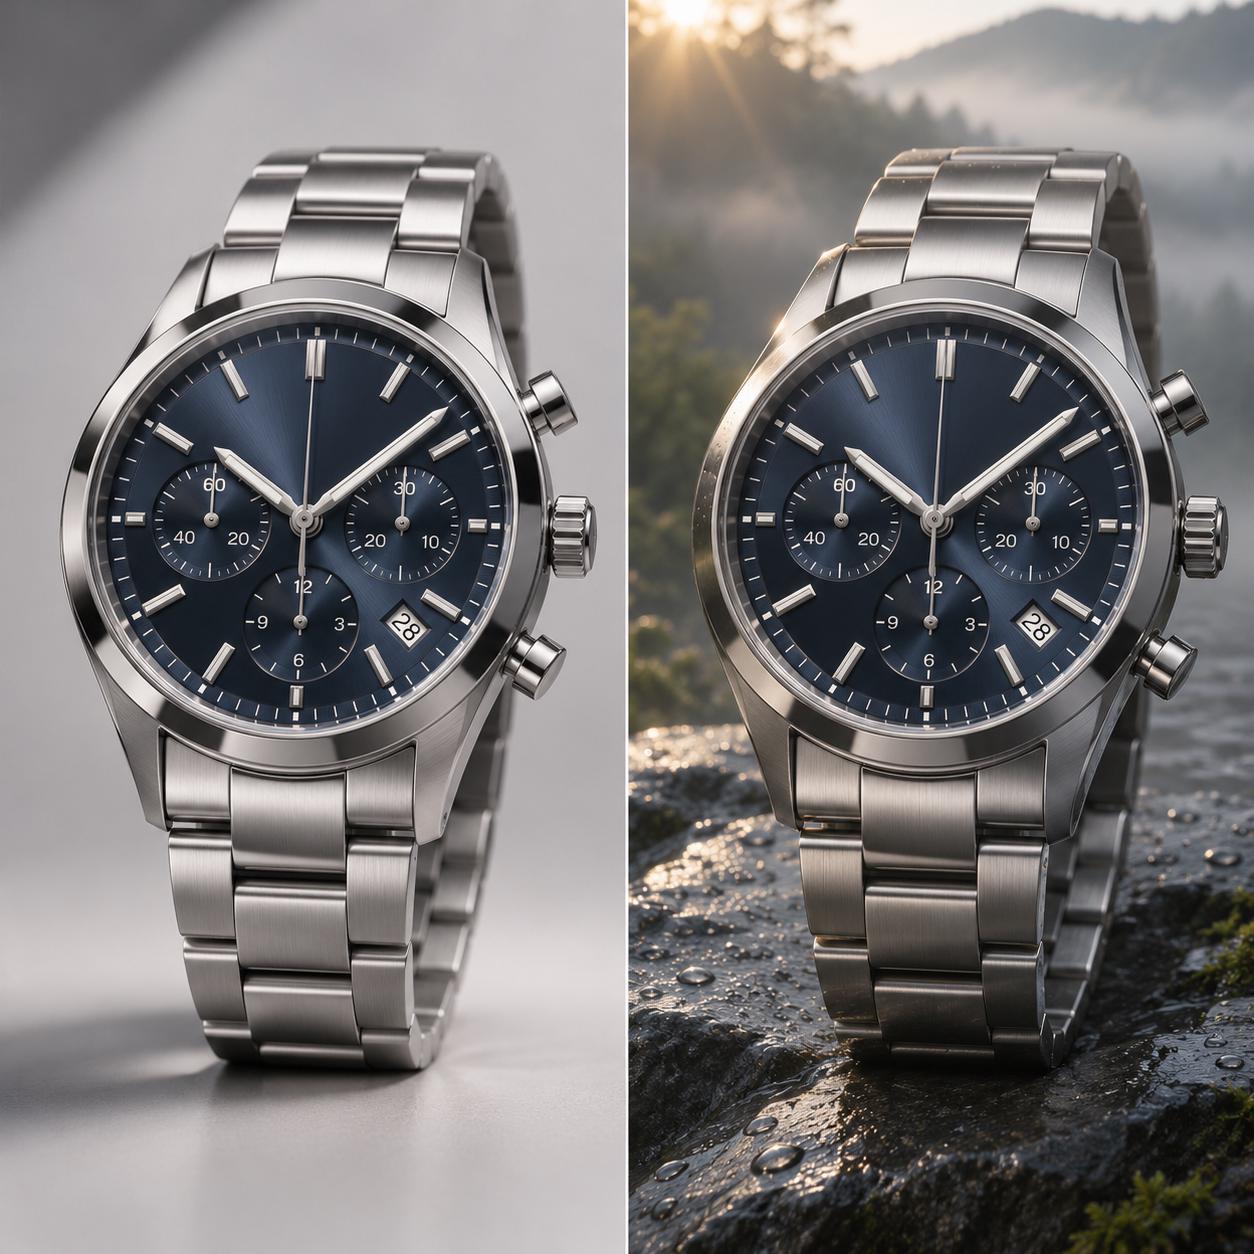
Example 02
The same stainless-steel wristwatch moves from a clean studio backdrop to wet dark stone in the morning light. Its dial, shape and camera angle remain consistent.
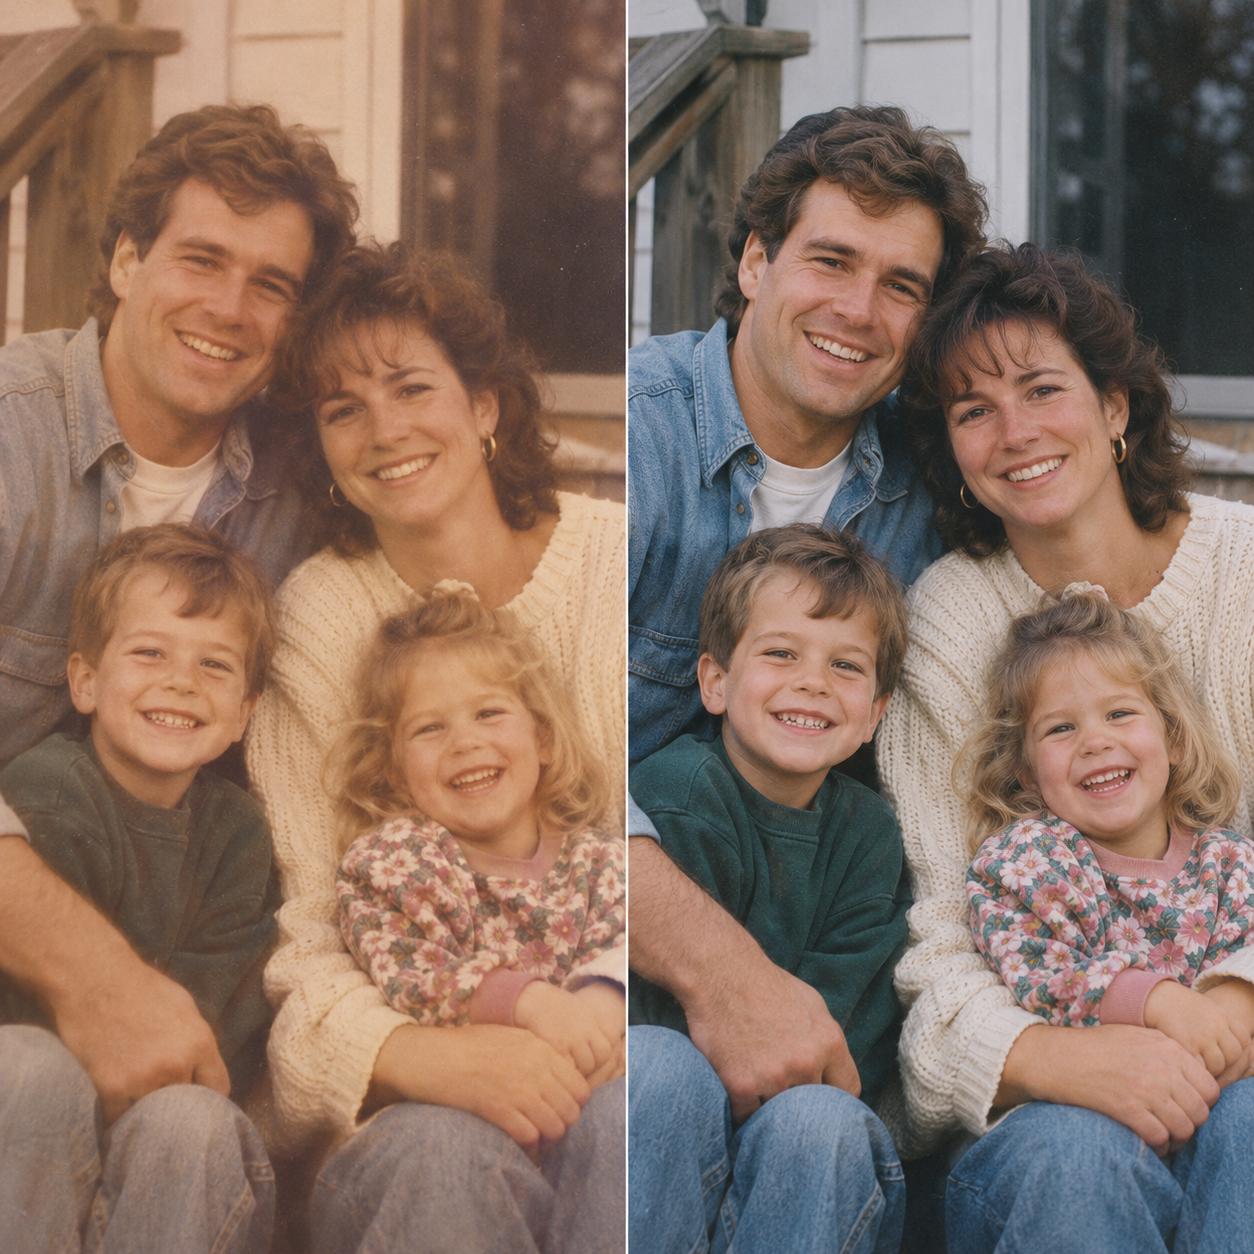
Example 03
A faded 1990s-style family photo gets cleaner contrast and a cooler film grade, while the family, their clothing and the original composition remain recognizable.
Illustrative transformations; actual results depend on the photo and prompt.
Three simple steps
01
JPG, PNG or WebP up to 10 MB. Phone shots, product photos, screenshots and scanned pictures all work — as long as it is already a flat image file.
02
Say what should change and what must stay. The more concrete the style, the more consistent the result:
03
A medium-quality edit uses 10 credits. Open the before and after side by side at full size and check faces, hands, edges and any text in the picture. If one area is off, run a follow-up edit on the same image instead of starting over.
Only the pixels are regenerated; the structure comes from your file. Subject placement, perspective, proportions and the number of objects are all inherited from the photo you uploaded — what you are steering is style, light, material and setting. That is different from blank-canvas text to image, where the model invents the composition from nothing. On this site the homepage editor also starts from an uploaded photo for general edits; use this page when you specifically want a composition-preserving restyle.
| What you need | Which tool |
|---|---|
| You already have a photo and want a new style, setting or texture without changing the composition | This page — image to image |
| You already have a photo and want a general edit — hair, clothes, background, product look, and similar changes | AI photo editor homepage |
| You only want to remove or replace one thing in the frame | Object remover / AI background remover |
| You want to change text that is already baked into the picture | Photo text editor |
Everyday use cases
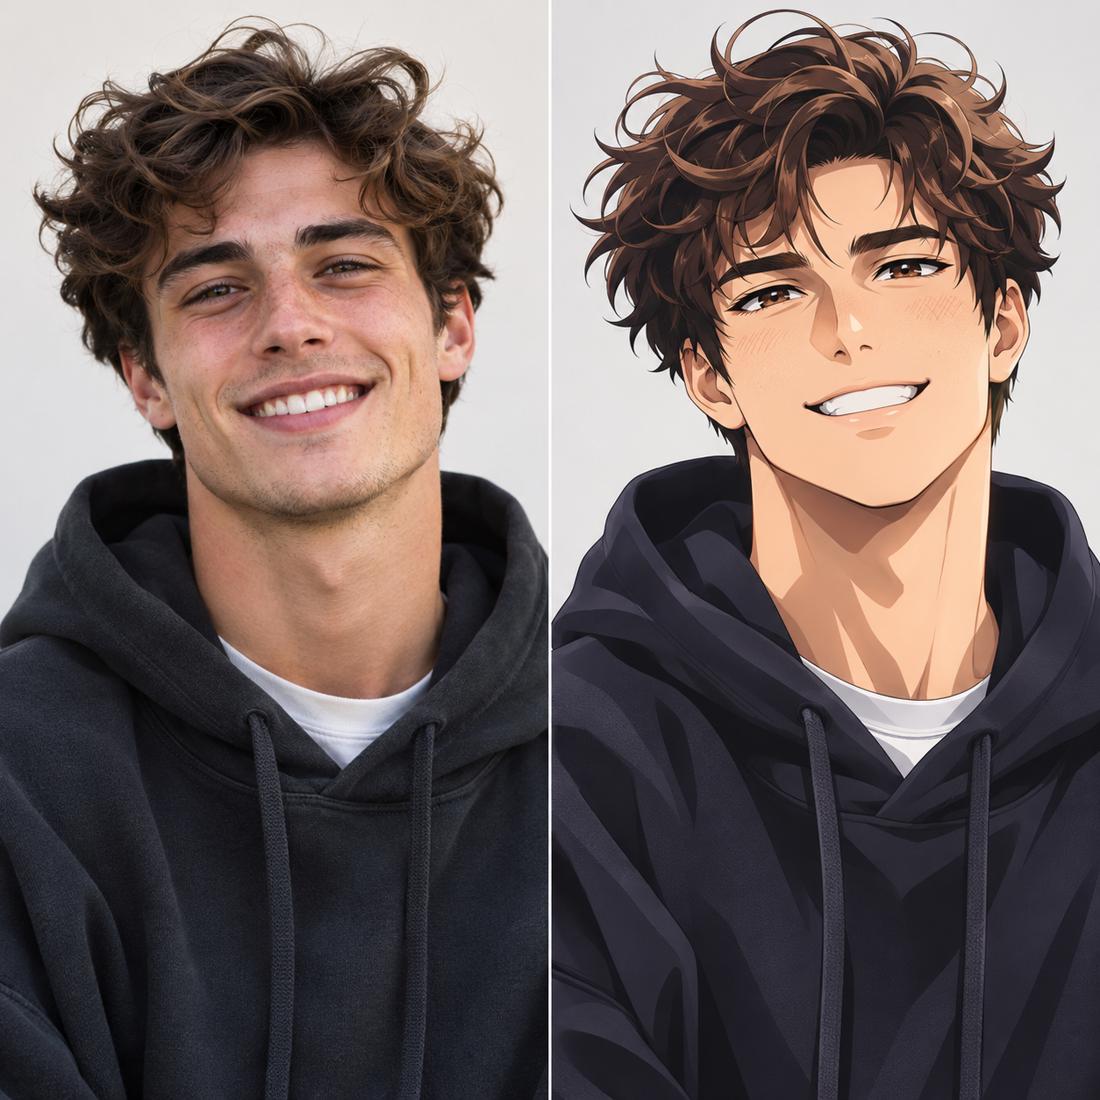
Turn an everyday portrait into an anime-style avatar while keeping the same hair, smile, pose and clothing.
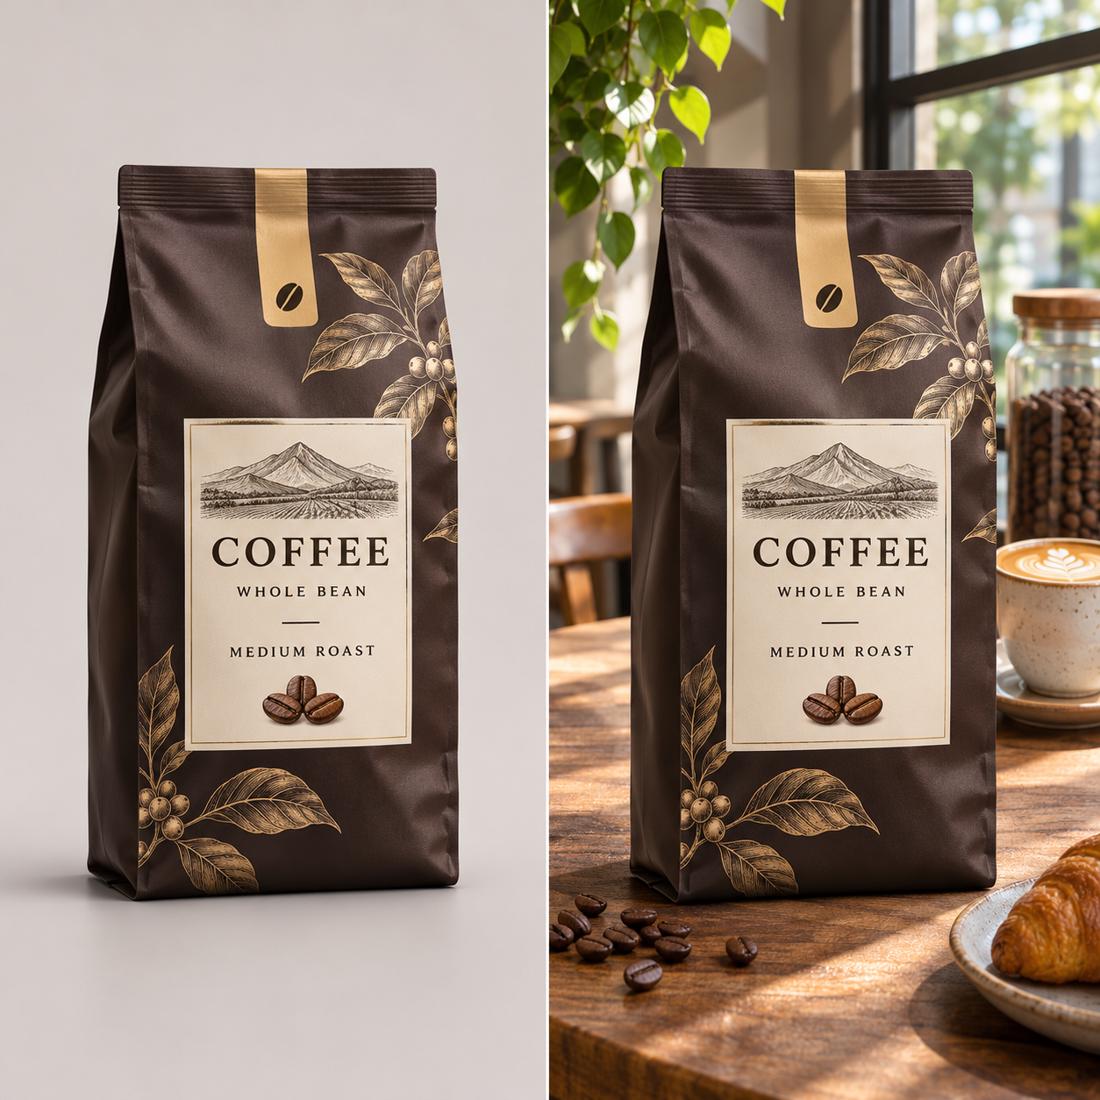
Place the same coffee product into a cozy cafe campaign scene without changing its packaging or label.
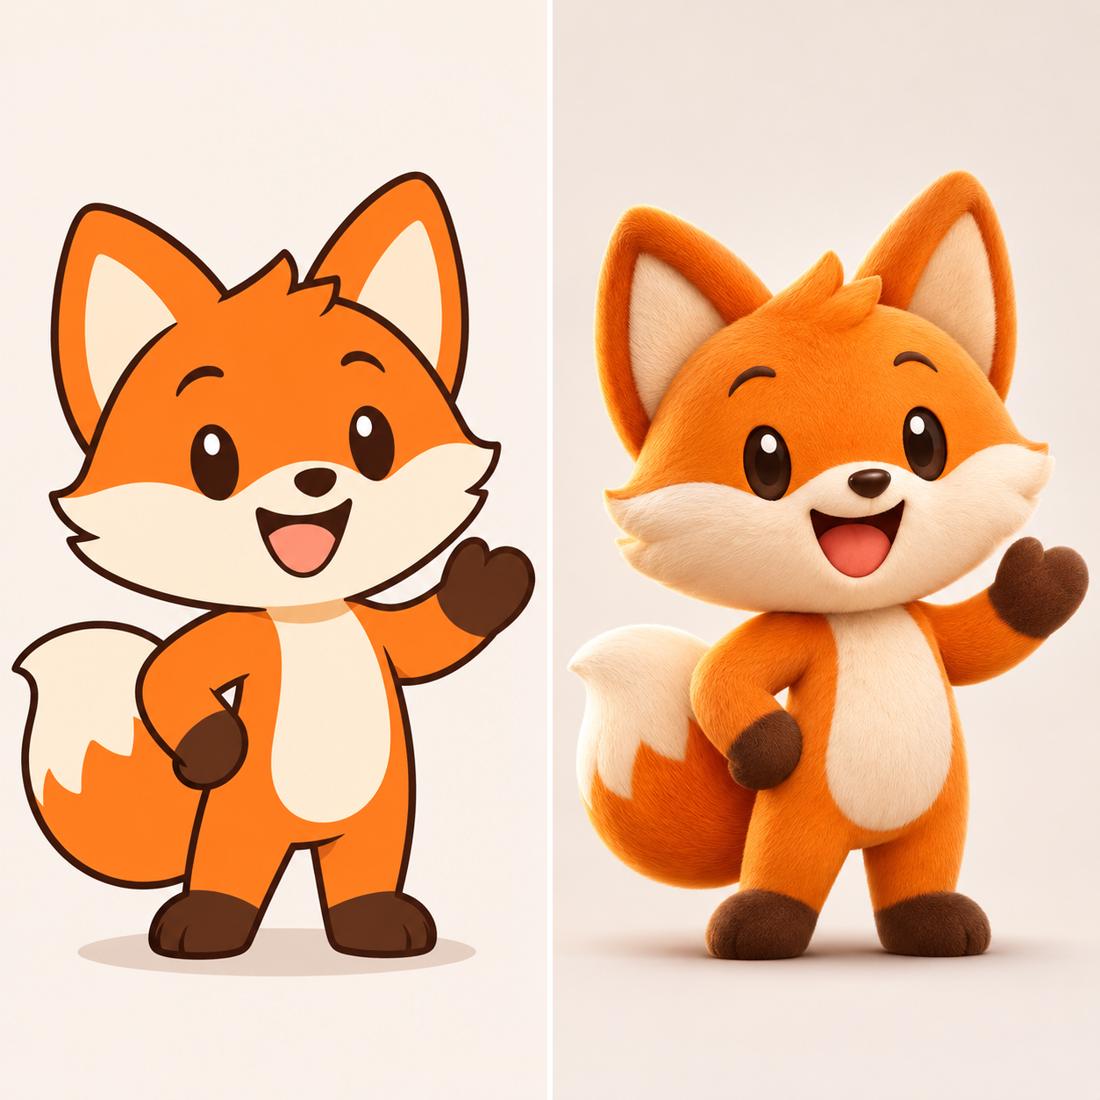
Give an original mascot a polished 3D look while keeping the character recognizable.
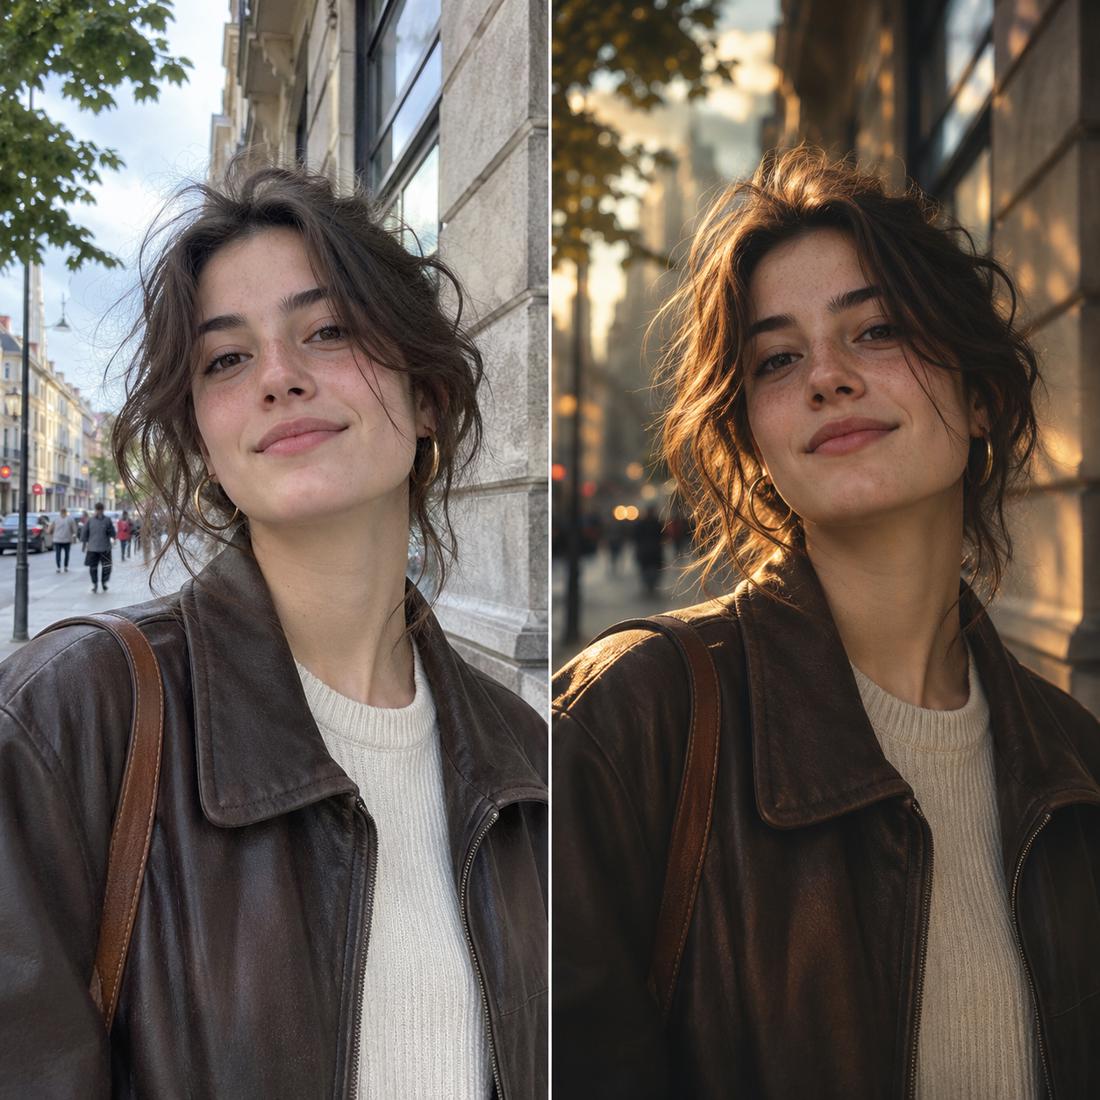
Change an ordinary city portrait into a golden-hour editorial shot without starting from a new composition.
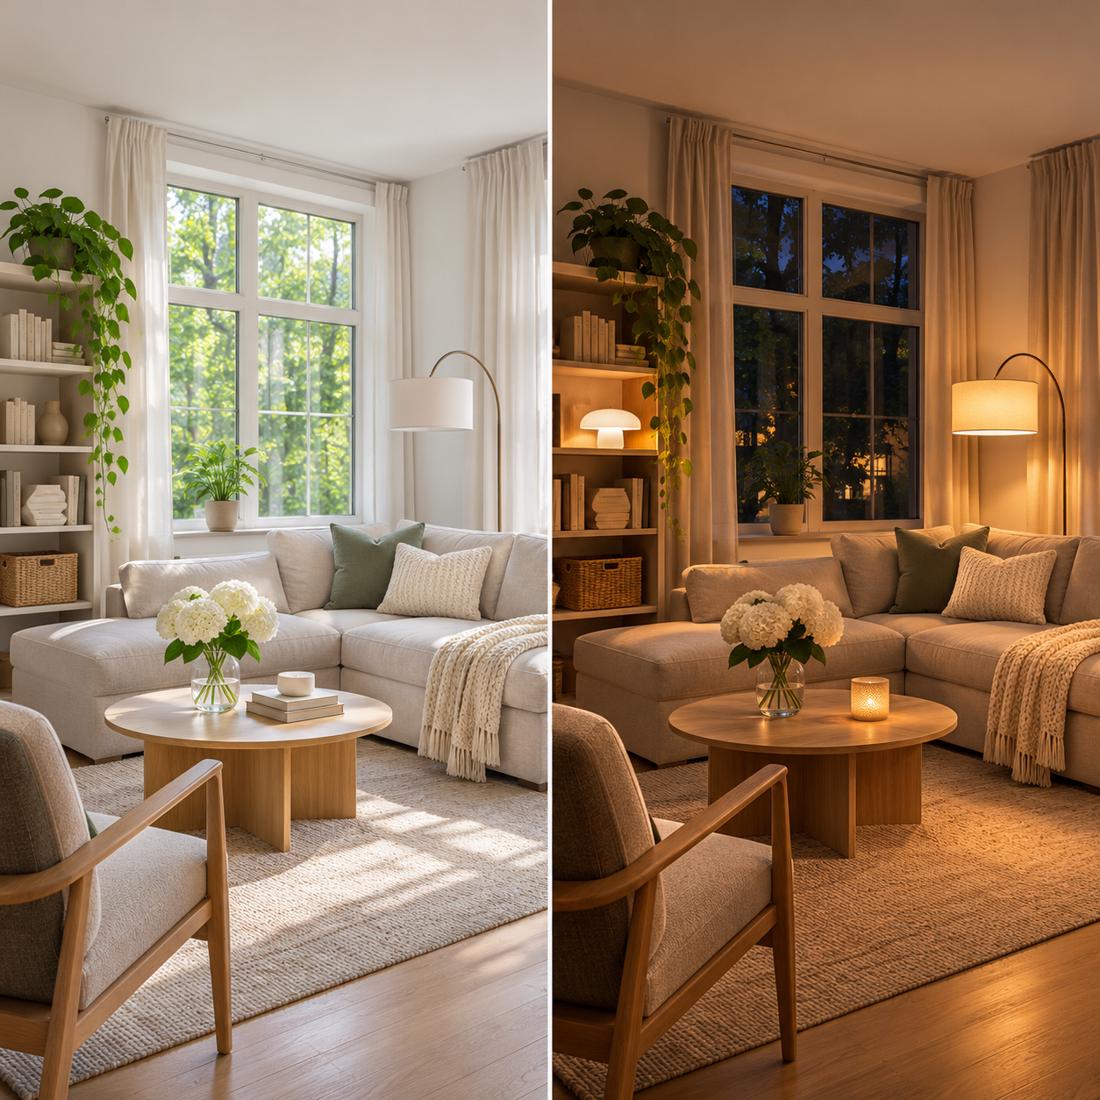
Preview the same living room in bright daylight and warm evening light with the furniture layout preserved.
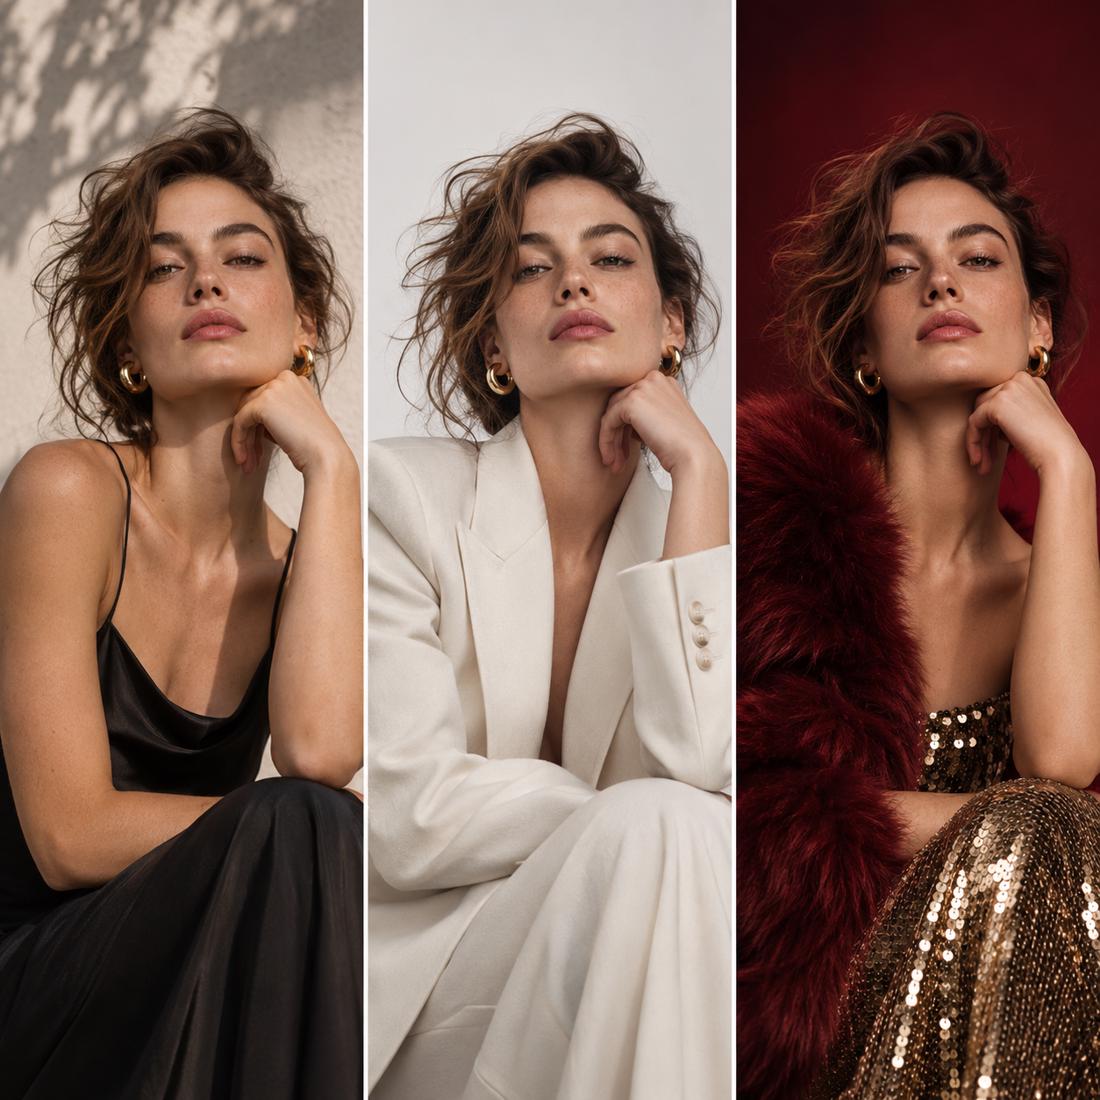
Explore a minimalist fashion look and a dramatic editorial version using the same portrait as a starting point.
A filter applies one fixed recipe to the whole frame, and every photo comes out looking like the same photo. Here there is no preset menu to pick from: you state the style in words — "matte film look, warm shadow, no glow" — so the change follows your picture instead of a template. No preset limit, no watermark, no fixed set of looks.
Use this for personal photos, product images, mockups and marketing material. Do not use it to alter identity documents, receipts, invoices, tickets or number plates, or to make a real person appear to say or do something they did not. See our Acceptable Use Policy.
Yes to start. 10 free credits without signing in cover one medium-quality edit (10 credits). Sign in for 10 more, and one-time packs start at $4.99 for 200 credits — no subscription.
No. The first edit runs without signing up; an account only exists so you can reopen your results in My Creations.
Text to image invents a picture from words alone, with no source photo. Image to image starts from a photo you upload and keeps composition, subject and proportions while changing the look — style, light, material, setting. On this site both the homepage editor and this page start from an uploaded photo; this page is the focused restyle workflow when you need a specific pose or product angle preserved.
Not yet. Style is described in words rather than supplied as a reference picture. Naming the medium, palette, light and era in your prompt is the closest equivalent today.
Yes for your own photos and for material you have the right to use. Not for identity documents, or for making a real person appear to do something they did not.
There is no preset list and no filter count — you describe the change, so the range of looks is open. The only limits are the standard content rules in our Acceptable Use Policy.
JPG, PNG and WebP up to 10 MB. Your file stays in the browser until you generate; afterwards it is stored so you can reopen results, it is not used to train models, and you can request deletion at any time.
Upload it, describe the look you want, and compare before and after. 10 free credits, no sign-up, your original file kept.
Looking for a different edit? Open the AI photo editor, browse AI photo editing tools, or read how to edit photos with AI.